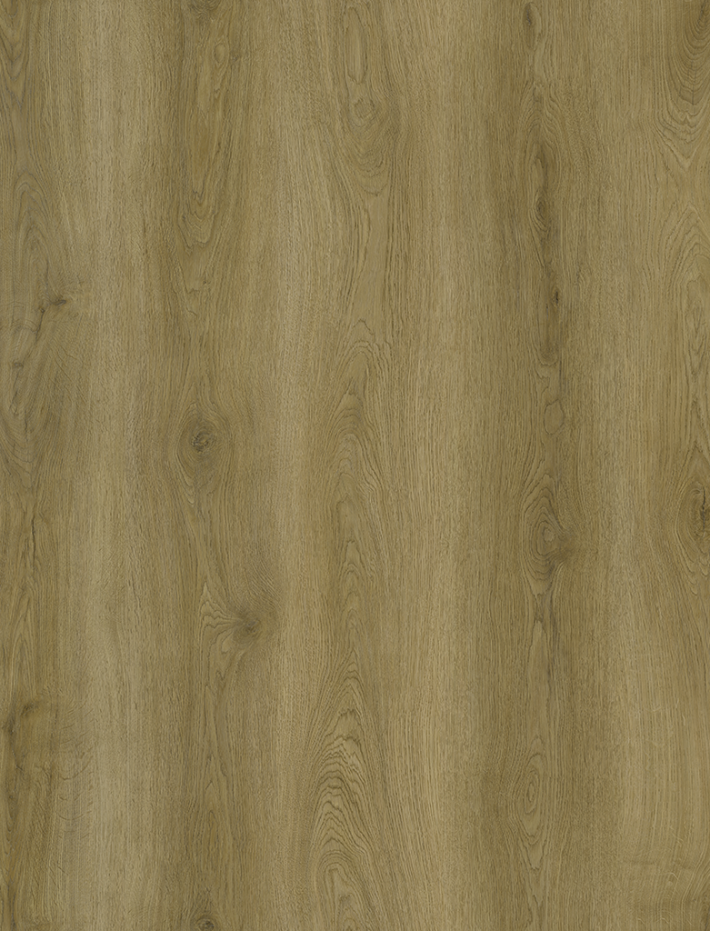
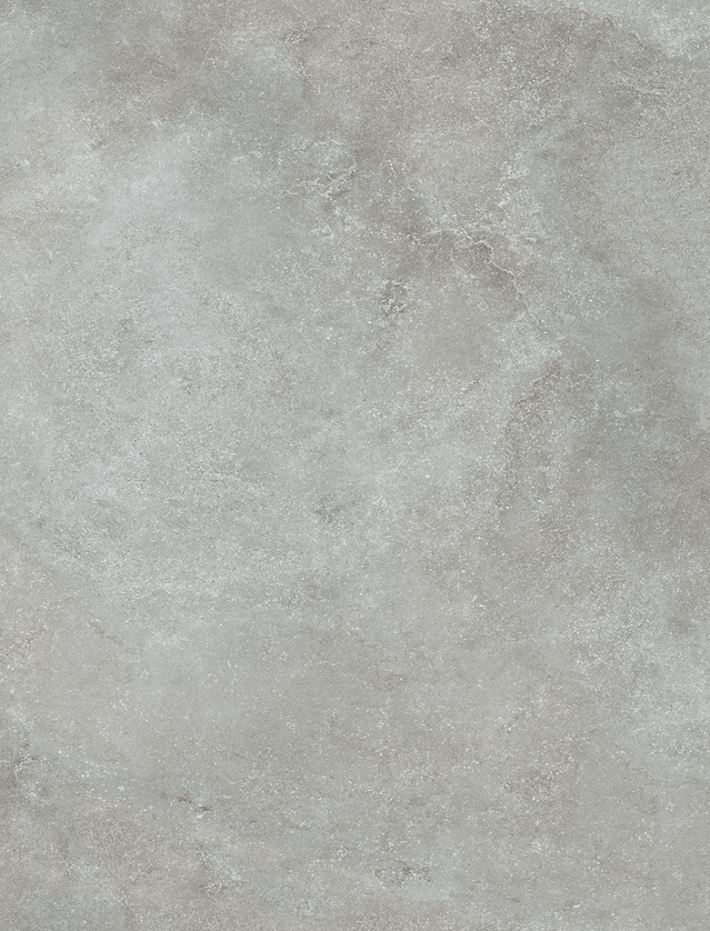
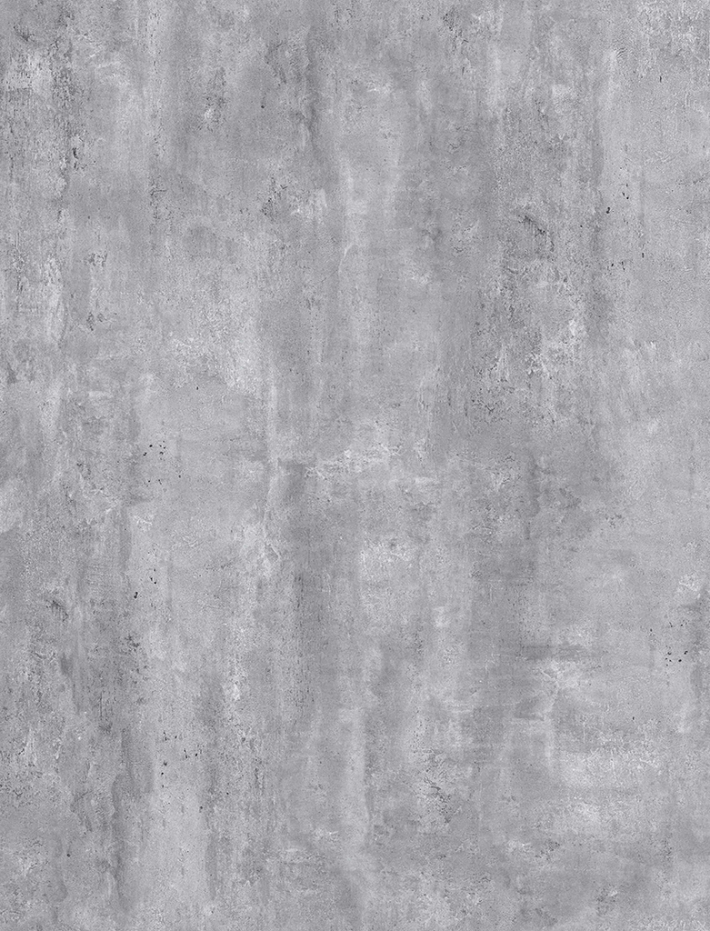
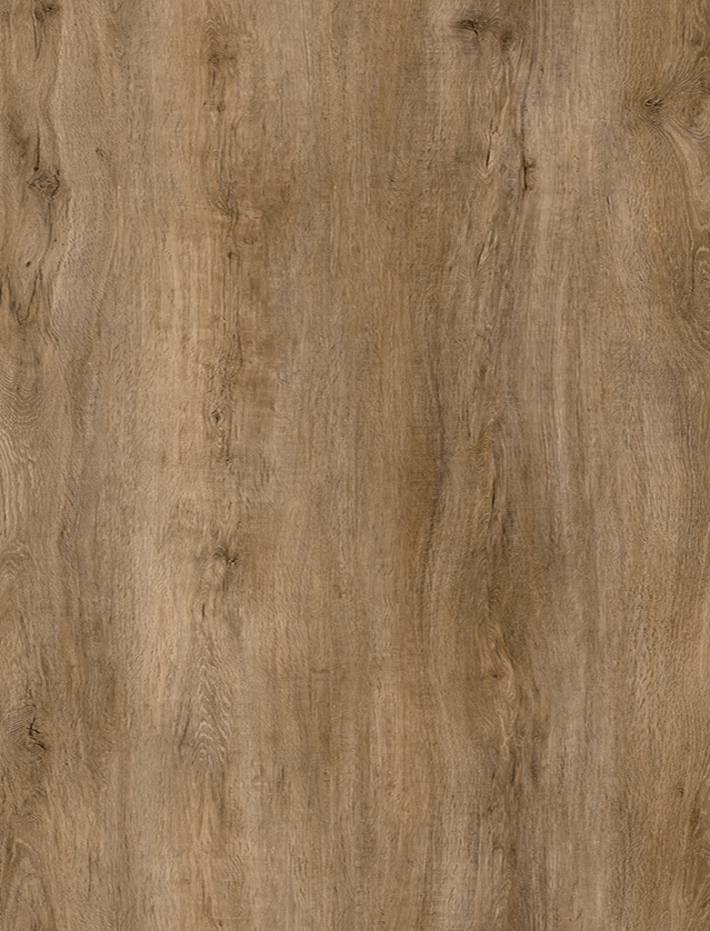
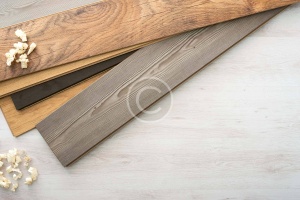
Supporting Tools
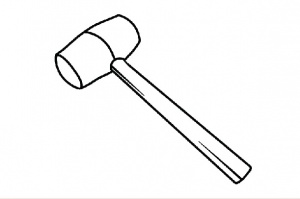
- Soft faced hammer
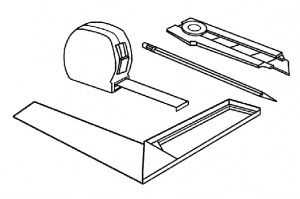
- Angle Iron, Meter Roll, Pencil, Utility Knife

- Moisture & Alkalinity tester
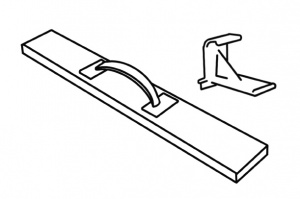
- Tapping block, 5/16” to 3/8” spacers
Subfloor Preparation
- The subfloor must be dry. The moisture of subfloor can be checked by sticking plastic wrap on its surface, taping all its sides, and leaving it overnight. Observe whether there is moisture trapped between the subfloor and plastic wrap.
- The subfloor or underlayment must be flat and free of defects, cracks and unevenness, otherwise it should be smoothed or paved.
- If there is a crack on the subfloor, it should be repaired and filled (e.g. with resin).
- Before installation, the subfloor must be thoroughly cleaned (it is recommended to properly sweep and vacuum the floor).
- The flatness of subfloor must not exceed a variation of 2 mm in 2 meters.
Pre-Installation
- If the need of planks/tiles are more than one box, check to ascertain all pattern and identification numbers are identical to ensure color match.
- Acclimatization: Alvera should be acclimated in the room of installation/construction site for at least 48 hours to prevent expansion and contraction of the products.
- Unpack and lay the planks in an area, away from direct sunlight and/or cooling device.
- Though not required, it is recommended to plan the layout and draw a base line for a better and easier installation.
Installation
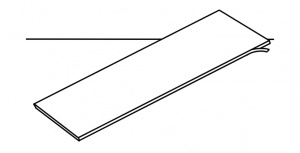
1 First install the underlayment, per width and gradually as your progress. Remove the tongue (on the long side) from the first row of SPC.
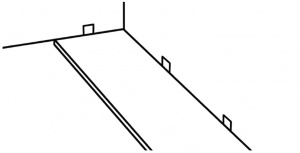
2 Place the first SPC with trimmed side towards the wall. Use spacers (minimum 8 mm) along all walls to maintain expansion gap between the walls and the flooring.
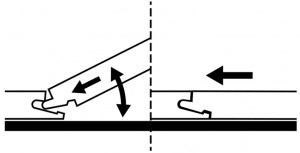
3 Attach the ends of the first plank and the second plank by lifting the second plank (about 15-25), and inserting the tongue (on the short side) of the SPC into the groove of the first plank, and than lowering seccond plank to the subtrat. Line up edges and corners carefully. Continue along the wall until you reach the last plank.
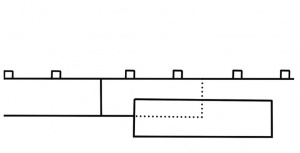
4 To fit the last plank, turn plank over (face down). Place the plank in the corner so the tongue (on the short side) touches the adjacent wall.
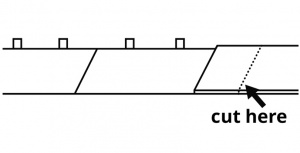
5 Measure overlap between the installed plank and the last plank and then cut the plank.
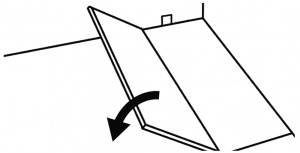
6 Begin the next row with the cut piece from the previous row, creating the necessary stagger.
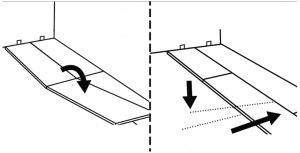
7 Continue locking each piece click into place, short side first and then long side.
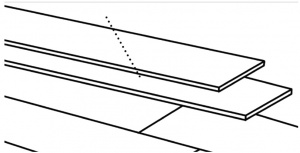
8 To install the last row, lay a plank on top of the previous row. With the plank against the wall, mark a line down the length of the plank and cut the planks.
Care & Maintenance Guide
- Sweep, dust, or vacuum the floor regularly to remove any particles that could cause abrasion or scratches on the floor.
- Use a damp mop to remove spots.
Do’s
- Use a felt pad beneath furniture legs and other heavy objects.
- Rearrange furniture and rugs periodically to avoid uneven color and shade changes due to light exposure.
- Minimize abrasive material and dirt by placing mats on both sides of exterior door and by using area rugs in hightraffic areas.
- Remove shoes with cleats, spikes, or exceptionally pointy heels before walking on the floor.
- Use soft non-rubber wheels for office chairs.
- Use protective mats beneath rolling chairs.
- Sweep and clean SPC Flooring regularly with a soft bristle broom.
- Avoid extreme sunlight exposure by closing curtains or blinds during such times.
Don’ts
- Do not slide or roll heavy furniture or appliances across the floor.
- Do not leave any amount of liquids (e.g. water, juice, soft drinks, spills, etc.) on the floor. Clean and dry any wet spots immediately.
- Do not use steel wool or scouring powder as it will scratch the floor.
- Do not use rubber-backed rugs.
- Do not install the products outdoors.
Explore Our Products
Alvera Flooring Products
Download Resources
Installation Guide
Need Help?
For the right installation instructions for specific products, contact our Expert Team.


