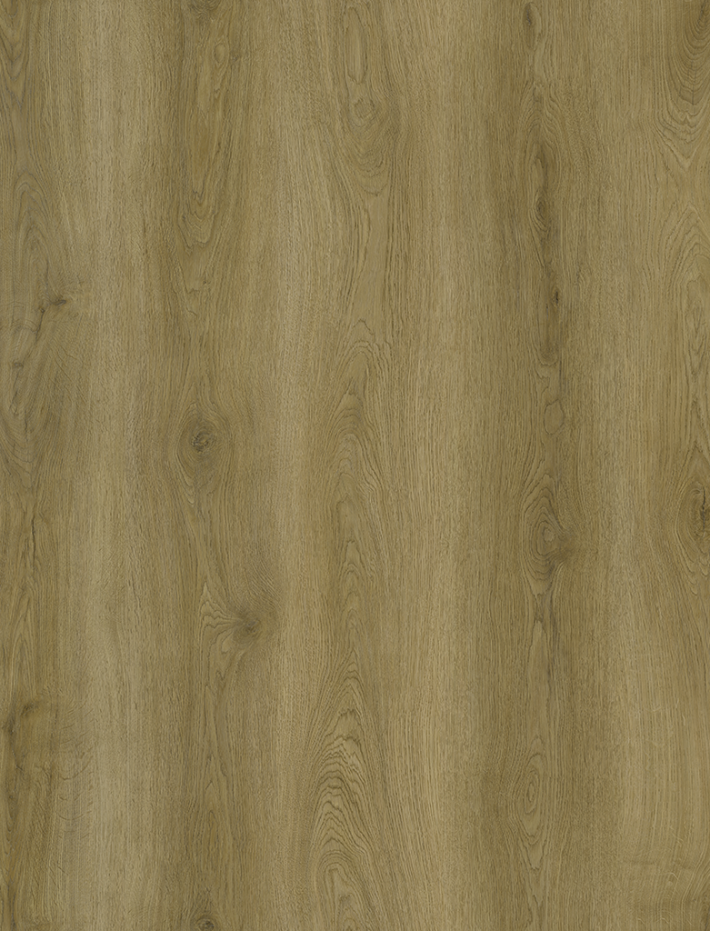
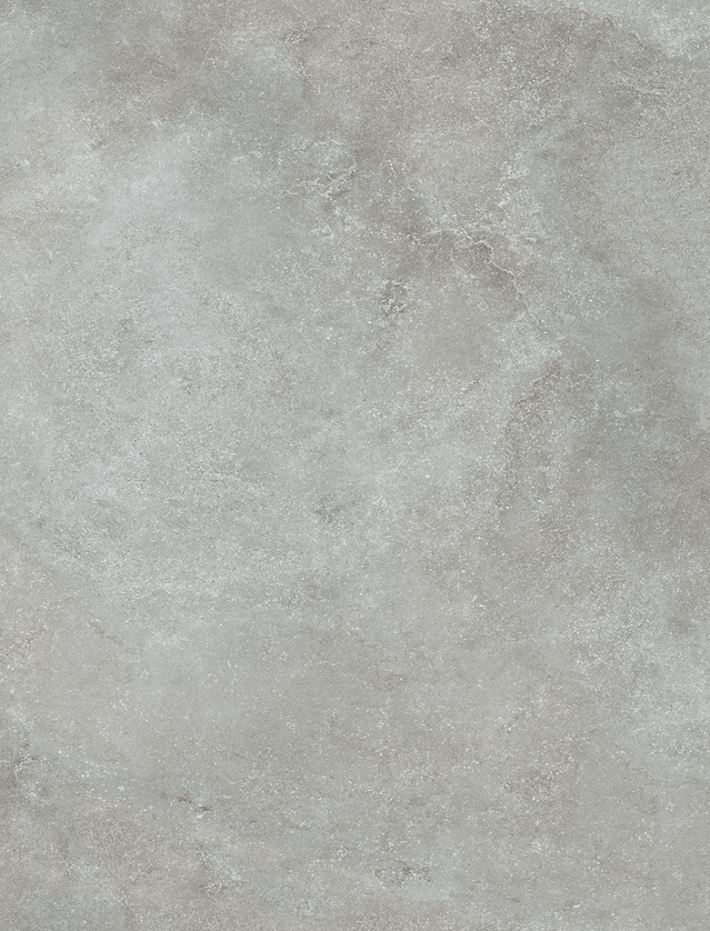
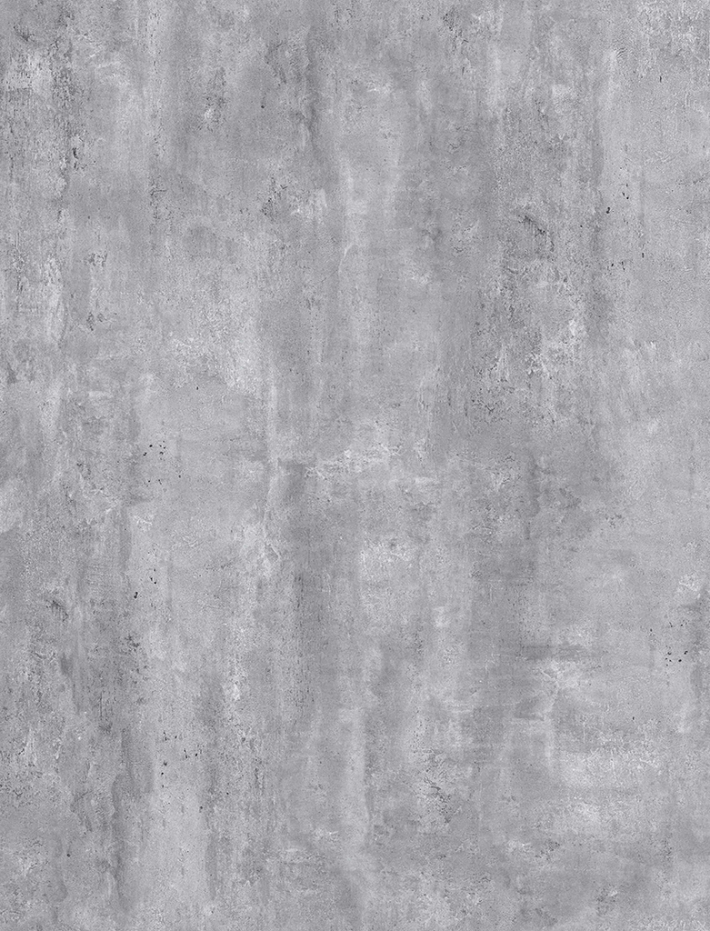
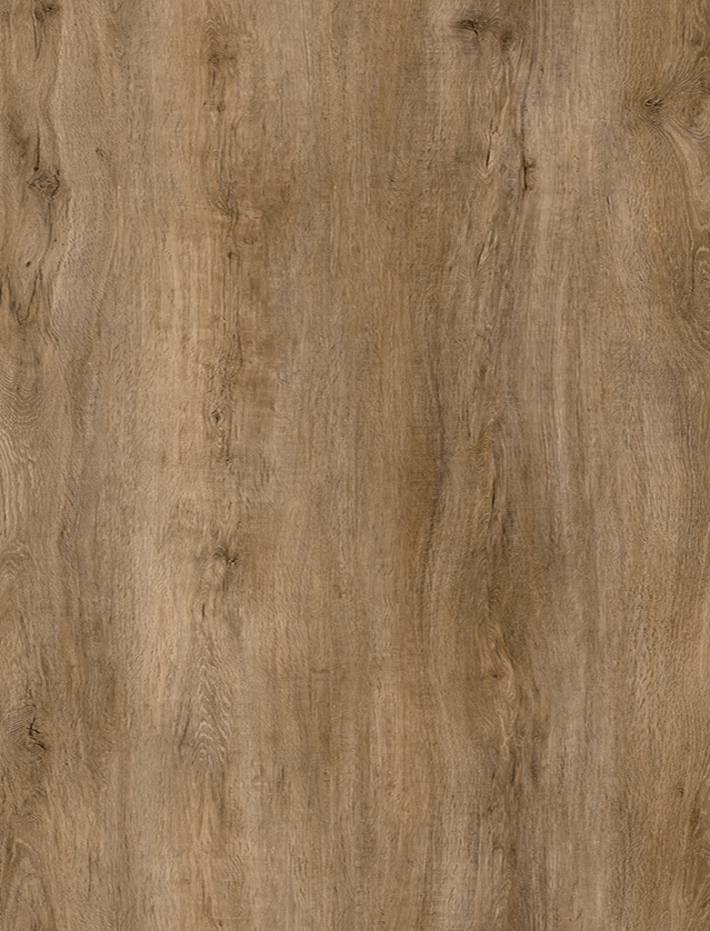
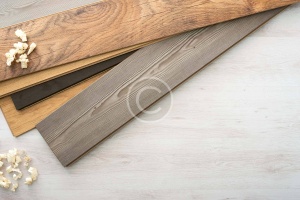
Supporting Tools
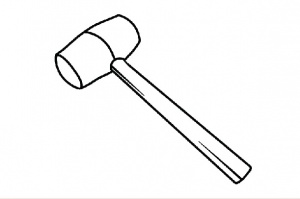
- Hand Roller / Rubber Hammer
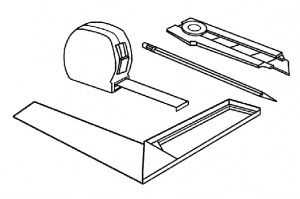
- Angle Iron, Meter Roll, Pencil, Cutter
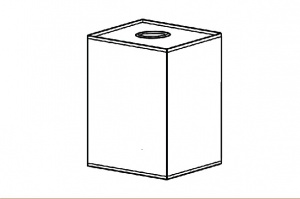
- Adhesive
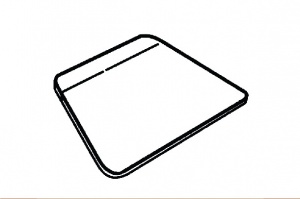
- Scraper
Subfloor Preparation
- The subfloor must be dry. The moisture of subfloor can be checked by sticking plastic wrap on its surface, taping all its sides, and leaving it overnight. Observe whether there is moisture trapped between the subfloor and plastic wrap.
- The subfloor or underlayment must be flat and free of defects, cracks and unevenness, otherwise it should be smoothed or paved.
- If there is a crack on the subfloor, it should be repaired and filled (e.g. with resin).
- Before installation, the subfloor must be thoroughly cleaned (it is recommended to properly sweep and vacuum the floor).
- Floor must be clean, dry, smooth, free from dust, existing adhesives, dirt, oil, paint, chemical substances and other contamination.
- It is essential to properly sweep and vacuum the subfloor before the installation process.
- The flatness of subfloor must not exceed a variation of 2 mm in 2 meters.
Care & Maintenance Guide
- Sweep, dust, or vacuum the floor regularly to remove any particles that could cause abrasion or scratches on the floor.
- Use a damp mop to remove spots.
Pre-Installation
- If the need of planks/tiles are more than one box, check to ascertain all pattern and identification numbers are identical to ensure color match.
- Acclimatization: Alvera Dryback should be acclimated in the room of installation/construction site for at least 48 hours to prevent expansion and contraction of the products.
- Unpack and lay the planks in an area, away from direct sunlight and/or cooling device.
- Though not required, it is recommended to plan the layout and draw a base line for a better and easier installation.
Installation
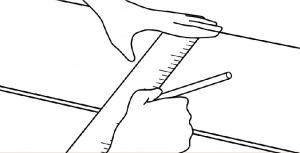
1 Draw a reference line according to the desired layout/design. The reference line may act as a start point.
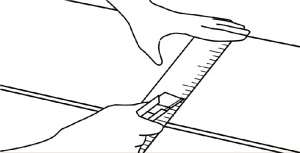
2 Cut the LVT planks according to the needs on location and design.
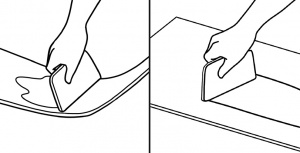
3 Apply flooring adhesive on the back of the plank and on the subfloor in the area of installation using a scraper as needed.
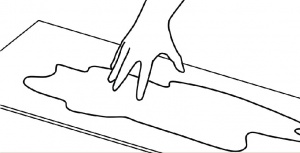
4 Allow to dry to the touch before installing the plank (do not install while the adhesive is still wet).
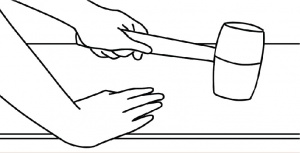
5 Start the installation of the first plank from the corner or reference line. Work from left to right. Once in place, use a hand roller or rubber hammer to secure the plank in place.
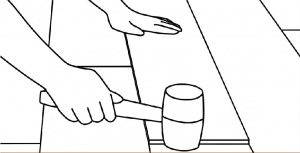
6 When the tiles/planks are down, roll in both directions or hammer down the entire assembly to achieve a full and secure adhesive contact.
Note:
- After assembly is rolled, repositioning is not recommended.
- Normal traffic on flooring installations may resume as soon as the installation is completed.
- Allow 48 hours before washing and rolling traffic, furniture or fixture on the floor to allow the planks adhere to the subfloor.
Do’s
- Use a plastic glider beneath furniture legs and other heavy objects.
- Rearrange furniture and rugs periodically to avoid uneven color and shade changes due to light exposure.
- Minimize abrasive material and dirt by placing mats on both sides of exterior door and by using area rugs in high traffic areas.
- Remove shoes with cleats, spikes, or exceptionally pointy heels before walking on the floor.
- Use soft non-rubber wheels for office chairs.
- Use protective mats beneath rolling chairs.
- Avoid extreme sunlight exposure by closing curtains or blinds during such times.
Don’ts
- Do not slide or roll heavy furniture or appliances across the floor.
- Do not leave any amount of liquids (e.g. water, juice, soft drinks, spills, etc.) on the floor. Clean and dry any wet spots immediately.
- Do not use acetone, chlorinated solvents.
- Do not use steel wool or scouring powder as it will scratch the floor.
- Do not use rubber-backed rugs.
- Do not install the products outdoor.
Explore Our Products
Alvera Flooring Products
Download Resources
Installation Guide
Need Help?
For the right installation instructions for specific products, contact our Expert Team.


